
How to Shred Soy Curls
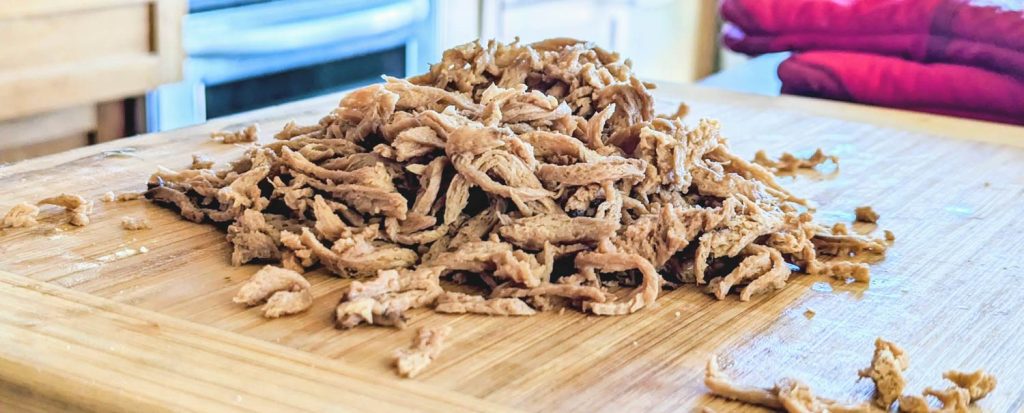
Shredding soy curls has always been a hot topic among beginners and enthusiasts alike, mostly because the traditional method of shredding with two forks doesn’t give results similar to traditional meats. When attempting to shred with forks, the curls often tear into chunks. It’s not bad, but not quite what most people are looking for when shredding soy curls. Keep reading for detailed instructions on how to become a soy curl master shredder!
Here We Go!
An Aside: How “Not” to Shred Soy Curls
Before getting to the shredding methods, I want to quickly review how not to shred soy curls. You can certainly try these methods, but in my experience they don’t produce a typical shredded texture.
What Doesn’t Work #1 – Shredding with a Food Processor
Food processors are great for SO MANY THINGS, but shredding soy curls? Ehhhh! Using a food processor with a typical “S” blade will generally produce roughly chopped soy curls. From there, the texture can go to a mince, then a mush pretty quickly. To be fair, it WILL produce a texture closer to what you’re looking for, so I wouldn’t rule it out, but I don’t think it’s going to produce what most people are thinking when they think ‘shredded’.
What Doesn’t Work #2 – Pulling Soy Curls by Fork
The classic two-fork pull method generally rips the curls apart into larger chunks, similar to a food processor. Again, they’ll be textured, but maybe not quite what you’re looking for.
What Works
The following methods can all produce beautifully shredded soy curls. They are ranked from my least favorite to my most favorite method at the end, and I will include equipment, what the method is best for, steps, pros, and cons for each. Be sure to not skip over method #2 because it’s the most versatile, and I’m not just saying that!
Methods
- Hand Shredding
- The Pasta Maker Method
- The Rolling Pin Method
- The Blender Method
- The Stand Mixer Method
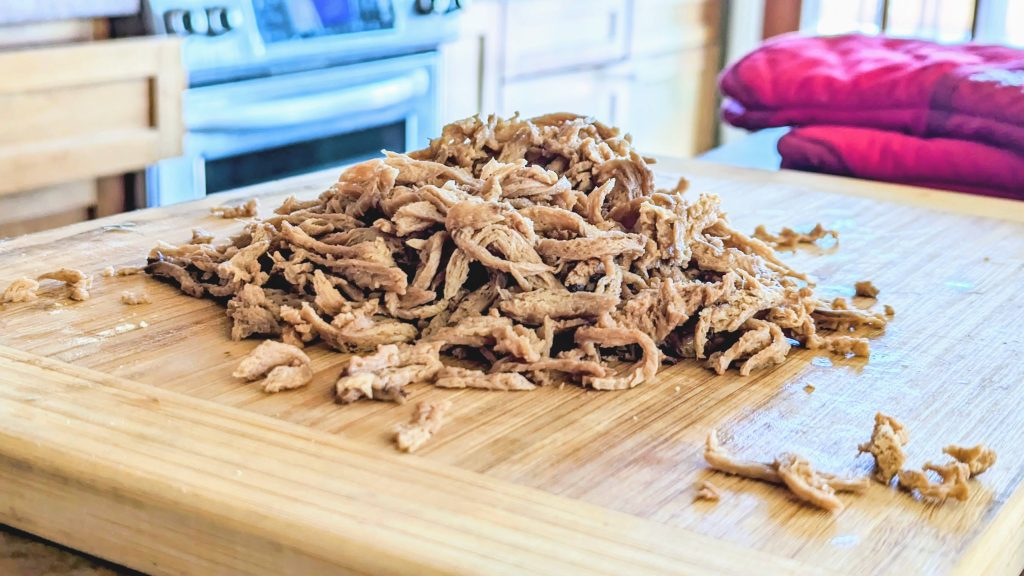
Hand Shredding
Equipment
- Just your paws
Best For
- Just starting out
- Small amounts of soy curls
- People that enjoy shredding things
- Large shreds (tiny shreds take a very long time using this method)
Steps
- Rehydrate soy curls
- Cool to warm or room temperature
- Grasp a soy curl with your non-dominant thumb, index, and middle fingers
- Pull off shreds with your dominant thumb, index, and middle fingers
Pros
- No special equipment needed
- Easy to learn
Cons
- Time consuming
- Requires company or music or you may go crazy
Video
I was holding the camera with one hand, so this is more pulled-style, but I added it to provide an idea of how hand-pulling/shredding can work.
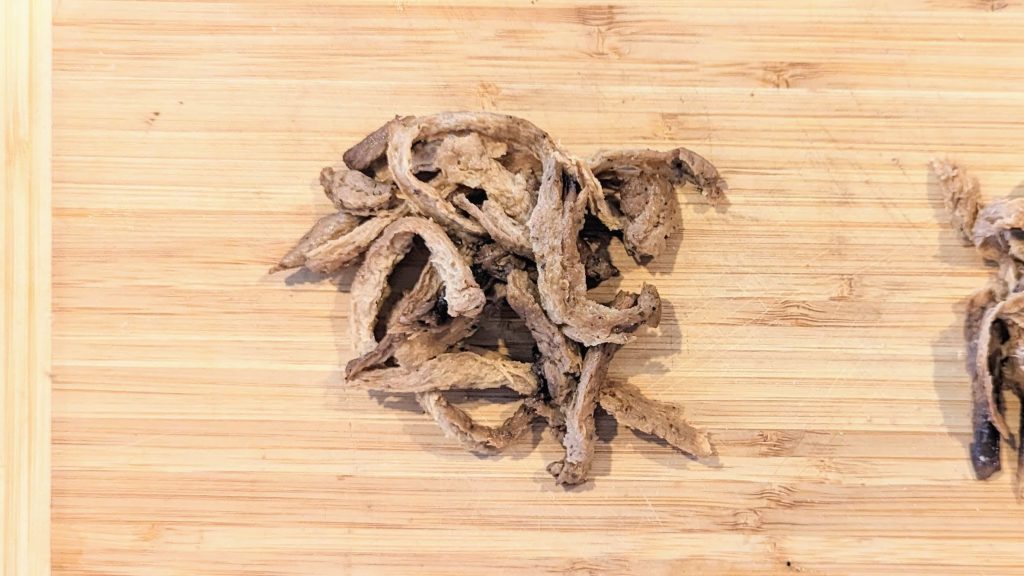
The Pasta Maker Method
Equipment
- Pasta Maker with Spaghetti attachment (#affiliatelink)
Best For
- Big, meaty shreds
- Big BBQ shreds (though most people leave soy curls whole for BBQ)
- Corned soy curls shreds
Steps
- Rehydrate soy curls
- Allow to cool to “warm” temperature
- Attach a spaghetti attachment to a pasta maker
- Carefully feed in soy curls, vertically into pasta maker with one hand while you crank the pasta maker with the other hand
- Be sure not to catch your fingers in the pasta maker!
Pros
- Faster than hand shredding
- Relatively consistent results
- Fun to crank
Cons
- Requires a pasta maker with spaghetti attachment
- Requires cleaning the pasta maker immediately after shredding
Video
The Rolling Pin Method
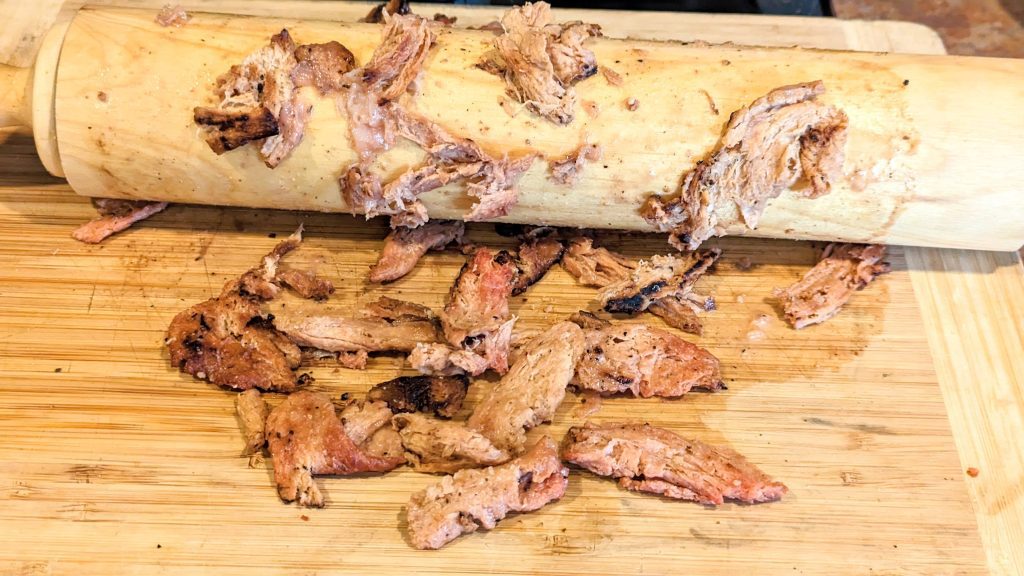
As far as I can tell, nobody was using this method. It came to me when I was thinking of ways to explore the range of soy curl textures. At first I tried pressing it under 50 pound weights, but dang it it wasn’t resilient! Also, who wants to lug around giant metal plates when they want tasty soy curls? Then, one day it came to me: The Rolling Pin technique.
I LOVE this method, and I think you will love it too. It’s rustic. It’s hearty. It’s dense. It’s meaty. It creates a texture that’s absolutely a delight to eat and is unbelievable on things like sandwiches.
To be clear, this is my #1 favorite overall technique for texturizing soy curls For shredding specifically, which is the focus of this post, the top award goes to the blender method because of the magnificent results in finely shredded soy curls it produces in record time, it’s also more accessible to those that can’t exert a lot of manual pressure, but the rolling pin technique… it is my GO-TO method!
Equipment
- Classic rolling pin (#affiliatelink) I prefer a classic-style rolling pin vs French-style for soy curls, because of the larger surface area
- OR, get creative: use a glass vinegar bottle. Heck, I’ve been known to smash them with the bottom of a flat pint glass, just, you know… be careful.
Best For
- Dense, meaty texture, such as sandwich ‘meat’
- Shaved ‘meats’ like shawarma or gyros
- Plant-powered Canadian Donair
- The list goes on and on!
Steps
- Rehydrate soy curls
- Allow to cool to “warm” temperature
- Drop a handful of curls onto a sturdy cutting board
- Roll the pin over the curls, exploring different directions and pressures
- Remove rolled/shredded curls to the side as you continue to finish rolling all curls
Pros
- Best technique for dense, meaty texture 🥇
- Best technique for sandwich ‘meat’ 🥇
- Adaptable to many textures
- Relatively quick to learn
- Super fast, even with cleanup
Cons
- Requires a rolling pin
- Requires manual work during/after rolling for shredded consistency
- Small learning curve, but there’s still a learning curve
Video
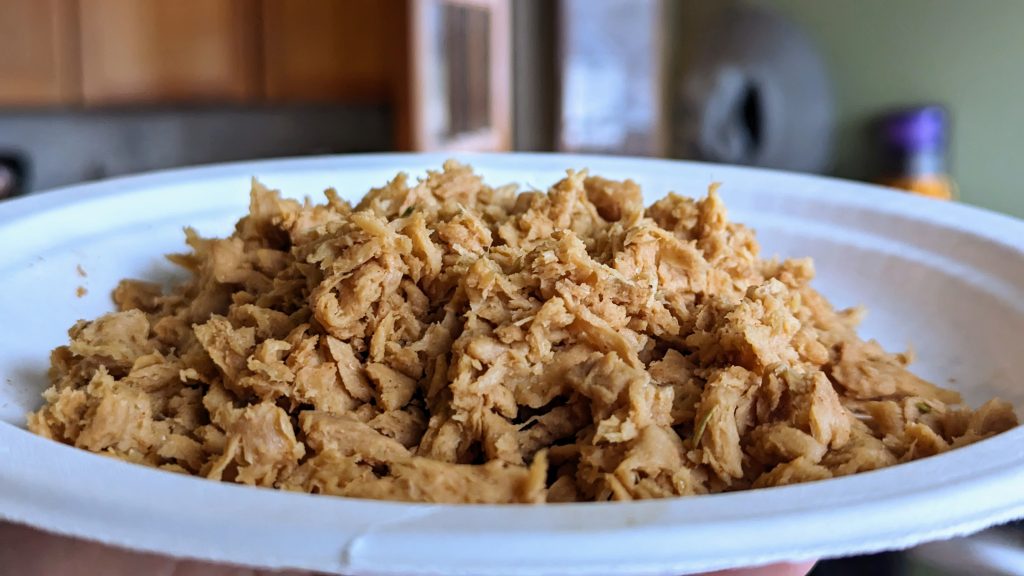
The Blender Method 🥇
This is it, people. This is the gold standard in shredding soy curls. We have Julie Hasson to thank for originally posting this technique. It’s as genius as it is simple. Why are all the Julies so dang smart?
Equipment
- Blender (#affiliatelink)
Best For
- Moderately-to-finely shredded soy curls
- Large batches of shredded soy curls
Steps
- Rehydrate soy curls
- Allow to cool to “warm” temperature
- Drop a handful of curls into a blender
- Cover blender, pulse, check, repeat 2-5 pulses total
- Remove shredded curls into a bowl, repeat with next handful of curls
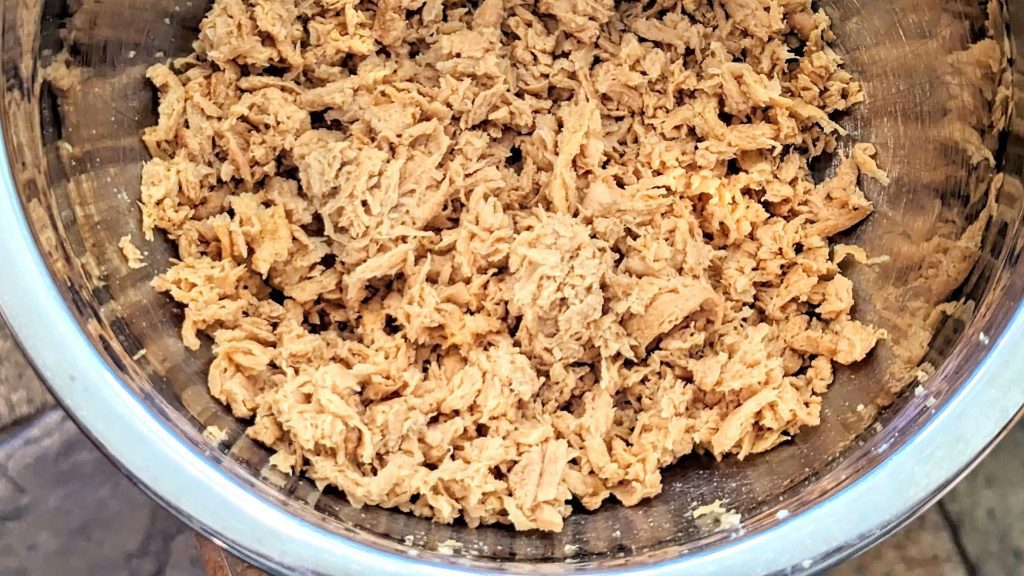
Pros
- Top-tier shredded texture (look at that photo!)
- Quick to learn
- Super fast, even with cleanup
- Super consistent results
Cons
- Requires a blender
- Small learning curve, but there’s still a learning curve
Video
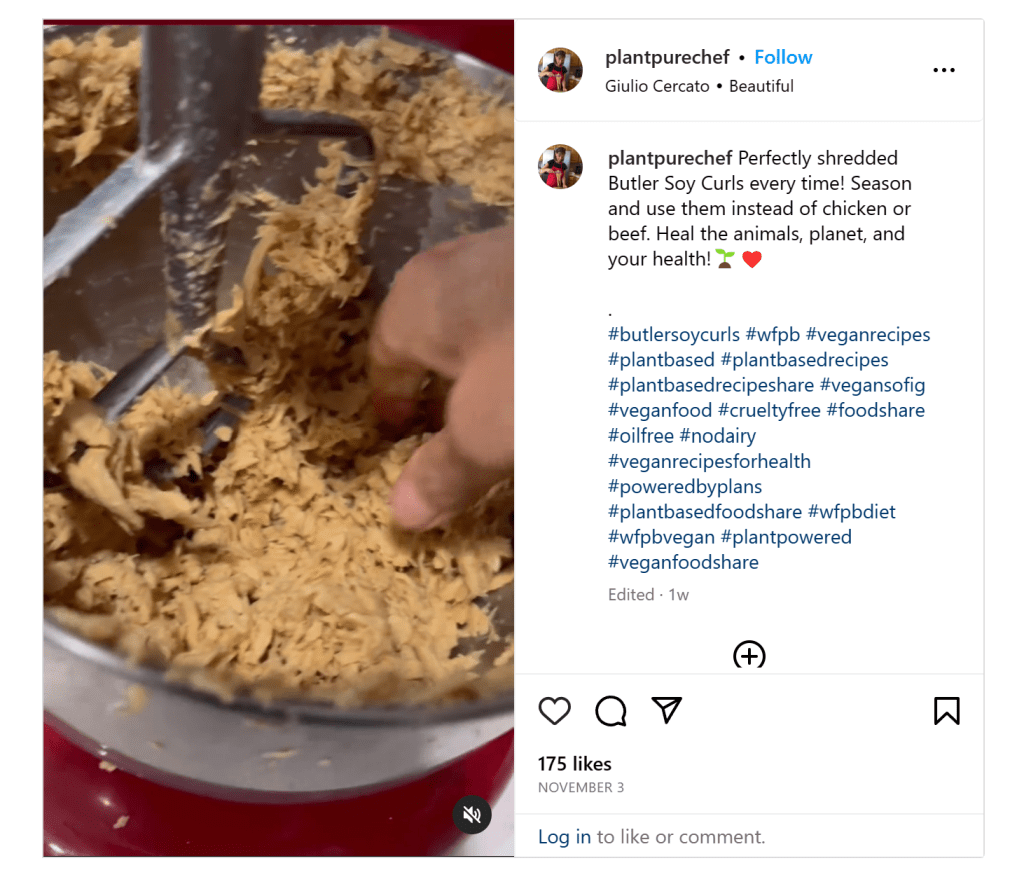
The Stand Mixer Method
Plant-based aficionado @mcdougallmom reshared a video of this method on Instagram recently, and for larger batches of soy curls it’s definitely the way to go if you have a stand mixer.
Equipment
- Stand Mixer (#affiliatelink)
Best For
- Moderately-to-finely shredded soy curls
- Medium-to-large batches of shredded soy curls
Steps
- Rehydrate soy curls
- Add soy curls to the bowl of a stand mixer
- Attach the classic “beater” paddle to the stand mixer
- Wrap a towel around the open area of the stand mixer to avoid soy curl shreds going everywhere
- Crank up the stand mixer to high speed until soy curls are shredded (when first doing this, only do it for a moment at a time to get a feel for it)
Pros
- Easily shreds medium and large volumes of soy curls
- Great texture
Cons
- Need for a stand mixer
- Towel cleanup
Video
Here’s a link to the original post and video by @plantpurechef.
Conclusion
That’s all, folks! Go forth and shred… and be merry!!