
Smokehouse Ham Soy Curls
Equipment
- BBQ grill (or a place to use smoking tube)
- Pellets (maple, cherry, or apple)
- Torch (optional)
- Torch fuel (optional)
- Small scale (optional)
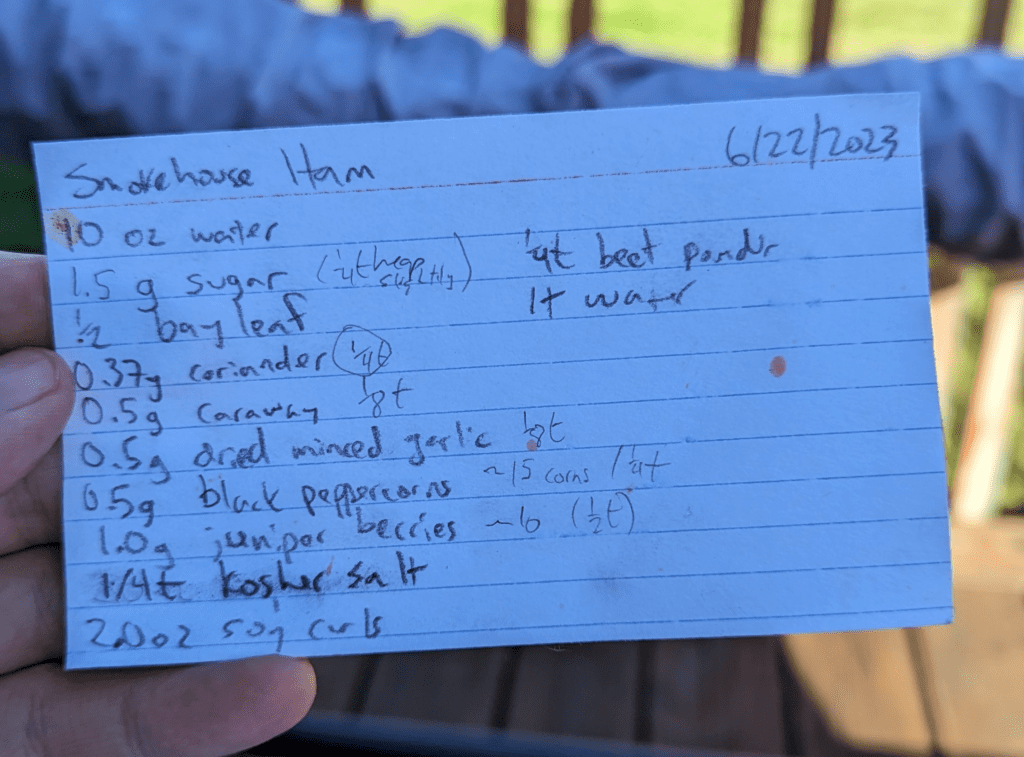
Ingredients
- 16 ounces water
- 1 tsp maple syrup
- 1 bay leaf
- 0.75 gram coriander, whole (appx. 1/2 tsp)
- 1 gram caraway seeds (appx. 1/4 tsp)
- 1 gram dried minced garlic (appx. 1/4 tsp, or you could sub with a small pinch of garlic granules)
- 1 grams black peppercorns (appx. 30 black peppercorns or 1/2 tsp of peppercorns)
- 2 grams juniper berries (appx. 20 juniper berries or 1 tsp juniper berries)
- 1/2 tsp kosher salt (this is the amount I like. If you want it salty, add a good pinch more)
- 4 ounces soy curls, dry (half a bag)
- 1/2 tsp beet powder
- 1 Tbsp water
Instructions
Make A Hot Ham Broth
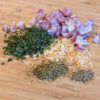
- Prepare your marinade broth: add water through juniper berries to a pot and bring to a simmer. Simmer for 5 minutes.
- Filter out spices (either scoop out carefully or pour through a mesh strainer). Discard spices, keep the ham broth.
- Add salt, dissolve, then add soy curls.
- Simmer, stirring occasionally until water has evaporated, about 15 minutes. The Soy curls will be very, very soft, perfect to smoke them back to a meaty texture.
- Set the soy curls in an area to start cooling down.
Fire Up The Smoking Cube
- Fill pellet tube nearly full of pellets, in this case I used maple, but apple or cherry will work, or a "sweet" / "mild" BBQ blend.
- Light the pellets on fire on the open end, to really take hold this typically takes about 30 seconds of direct torch flame
- Let the fire burn for 5-10 minutes, then blow out the fire which will start the smoking
Finish Preparing the Curls
- Mix beet powder with water, and use a brush to apply to the outside of the curls. Your hand with a glove can work well, too. A rubber spatula works, too, just try to coat them fairly evenly.
Smoke The Curls for 3-4 hours (3.5 is pretty great!)
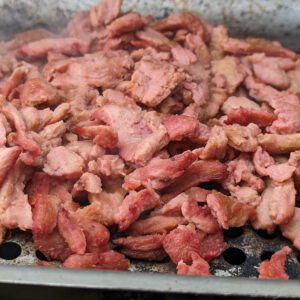
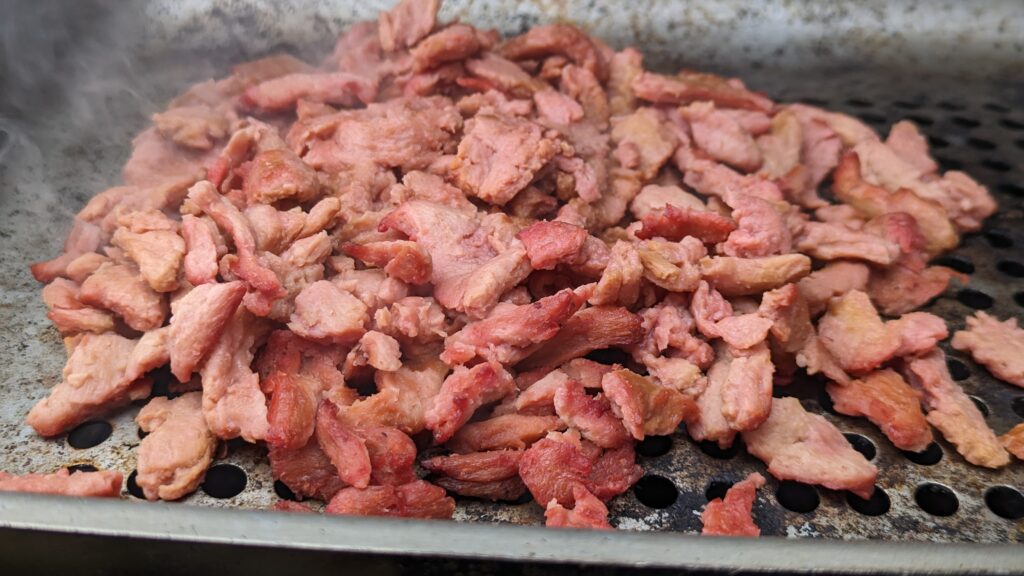
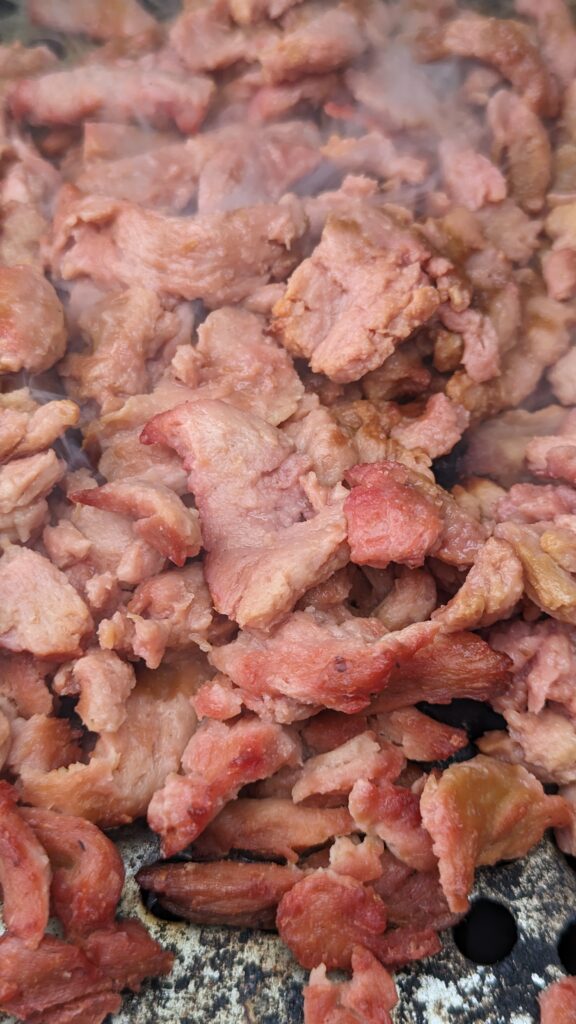
- Place soy curls in a mound on the vented grill pan over or near the smoking cube depending on how smokey you want them.
- Optional: if using a BBQ grill, you can turn a burner away from the curls and pellets on the LOWEST settings. This will increase the curls dark look and help create a blend of denser curls on the outside and softer ones on the inside.
- Smoke for 3.5 hours give or take 30 minutes, depending on your preference.
- At this point you can either serve them or let them cool to room temp and seal in a container with as little air as possible. I typically use Food Saver bags since it extends the shelf life in the refrigerator significantly, but this is optional.
Notes
SMOKY NOTE: Depending on how you smoke your soy curls, given the size and texture of curls, smoking them can result in a powerfully smokey taste. This recipe is certifiably bold!
Smoked Soy Curls are one of life’s great pleasures. It doesn’t get much more savory than food infused to its core by plumes of real smoke. If you’re a fan of BBQ (like pulled pork), savory meat sandwiches, deli meat/sandwiches, then join me on the journey into one of the most carnivorous plant-based recipes on Earth: smoked soy curls!


Bold, Juicy, Intense: Plant-Based Smokehouse Ham
How To Smoke Soy Curls
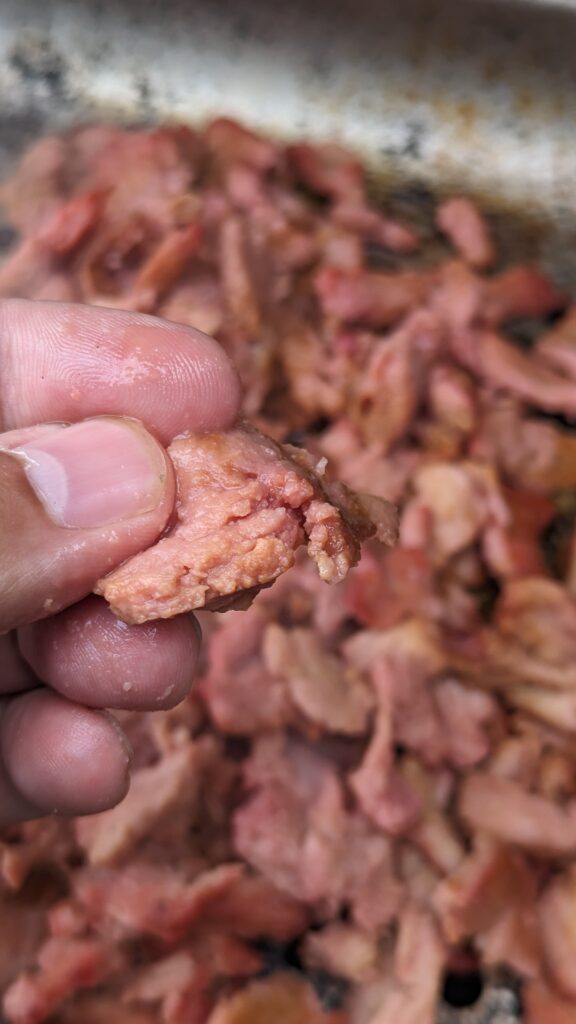
The technique will seem simple once you learn how to smoke soy curls. I used to use a pellet grill, but through trial-and-error have found another way to literally bathe them in smokey goodness. The trick is to carefully prepare the curls first, then we fire up a steel smoking tube (#affiliatelink) full of hardwood pellets to cold smoke the pile of seasoned curls. The result is a blend of moist, flavor-filled, gorgeous soy curls with some parts a bit denser, like the edge of a smoked ham. They’re very reminiscent of hearty chunks of cooked, smoked meat.
Equipment
If You Do Not Have a Wood/Pellet Smoker (My Current Setup)
- A smoking tube ($15-20)
- Some hardwood pellets (maple, apple, or cherry) ($10-40) – PRO TIP: pellets are cheaper locally at grocery stores and hardware stores but types can be limited
- A torch and fuel to light the pellets ($20-40 torch, $5-10 fuel)
- A vented grill pan (I use this tough-as-nails All-Clad one) ($25-80)
- And an outdoor fire-safe container for smoking, such as a BBQ grill.
If You Do Have a Wood/Pellet Smoker (My Previous Setup)
If you have a wood/pellet smoker, you’ll just need a vented grill pan to hold the soy curls and allow air and smoke to flow through them easily. I recommend using a heavy duty, stainless steel, perforated roaster. This is the roaster I use and I’ve had it for ages. It’s nearly indestructible and it’s great for anything larger than a kernel of corn that you want to cook on the grill and not have it fall through the grates.
The Method
- Prepare your marinade broth: bring spices and water to a simmer, simmer for 5 minutes.
- Filter out spices
- Add salt, dissolve, then add soy curls
- Simmer, stirring occasionally until water has evaporated, about 15 minutes. The Soy curls will be very soft, perfect to smoke them back to a meaty texture.
- Fill pellet tube nearly full of pellets, in this case I used maple, but apple or cherry will work, or a “sweet” / “mild” BBQ blend.
- Light the pellets on fire on the open end, to really take hold this typically takes about 30 seconds of direct torch flame
- Let the fire burn for 5-10 minutes, then blow out the fire which will start the smoking
- Place soy curls in a mound on the vented grill pan over or near the smoking cube (depending on how smokey you want them).
- Smoke for 3.5 hours (give or take 30 minutes, depending on your preference)
- At this point you can either serve them or let them cool to room temp and seal in a container with as little air as possible. I typically use Food Saver bags since it extends the shelf life in the refrigerator significantly, but this is optional.